
Setting up the Unity Environment
Download and setup the latest version of the Unity game engine with on your system. The link for the same can be found here
We will detail the steps required to setup a Unity Environment for successfully introducing the UDPClient to the game scene, which enables UDP communication from the device running the app to the motor modules.
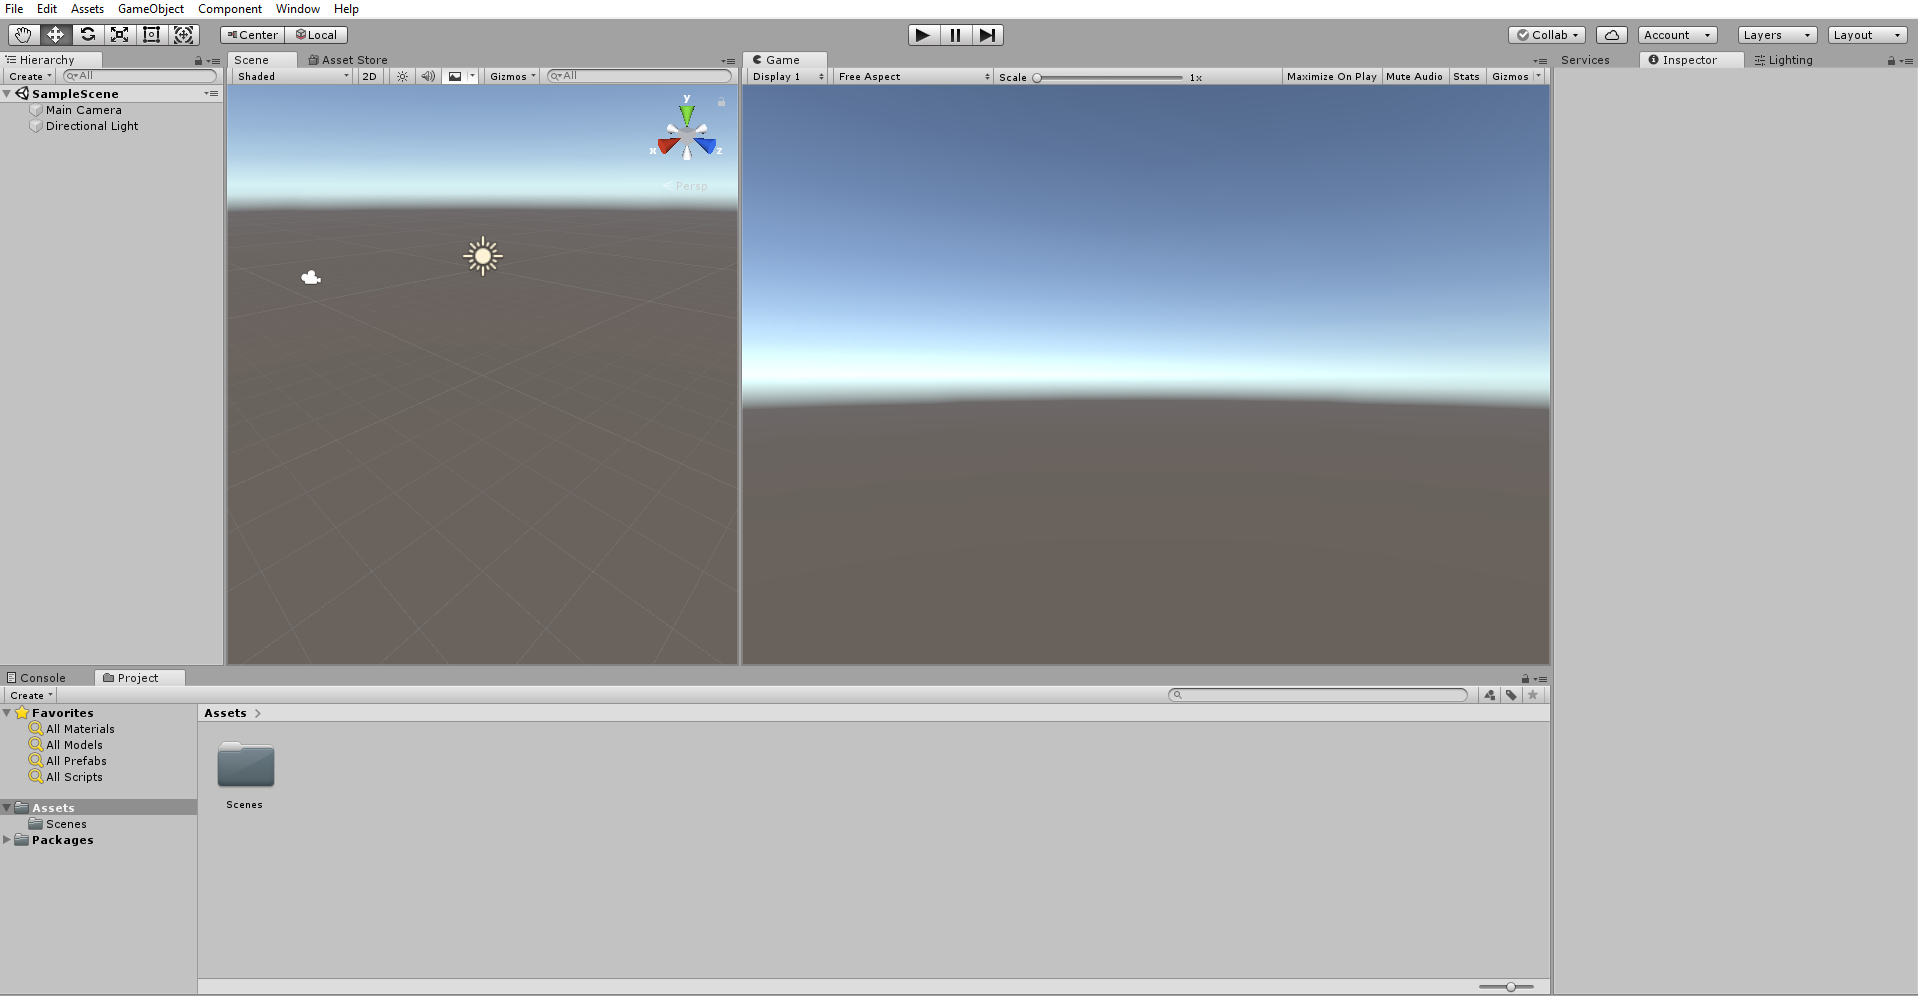
1 . A typical empty project when opened in Unity looks like the following. Please note, the layout of the screen can be different for different users. The screen will consist of the Hierarchy on the left which will enlist the Main Camera and Directional Light.
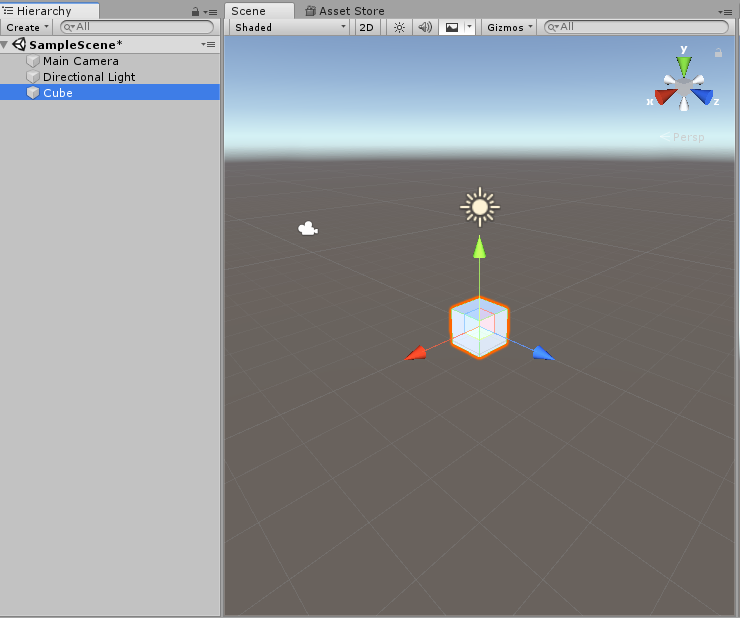
2. Right click on the Hierarchy to select a 3D object and select any object you wish. For the sake of this example lets select a cube.
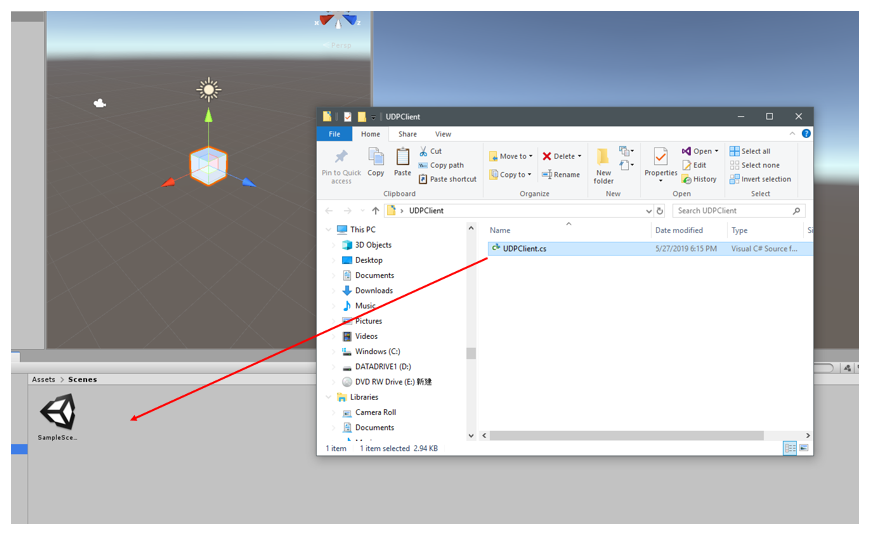
3. Drag and drop the UDPClient.cs file from the stored location on your computer to the Scene section of the Asset folder.
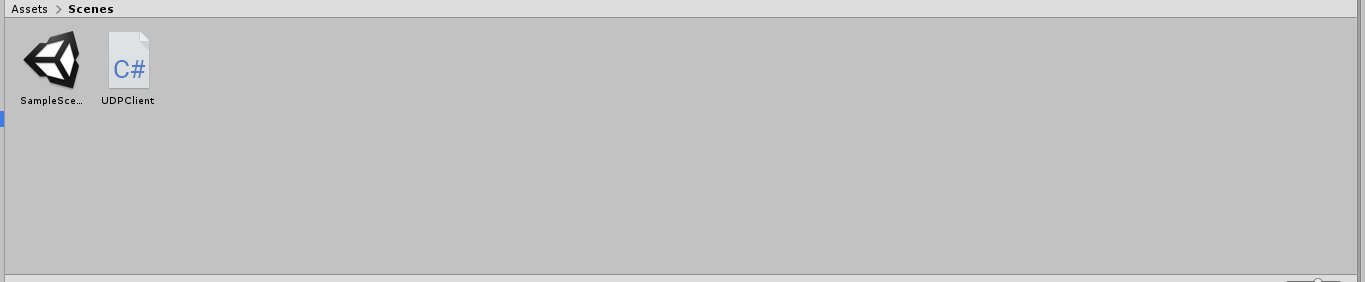
4. The scene folder of the Asset group should look something like this- with the scene and the UDPClient.cs as the asset.
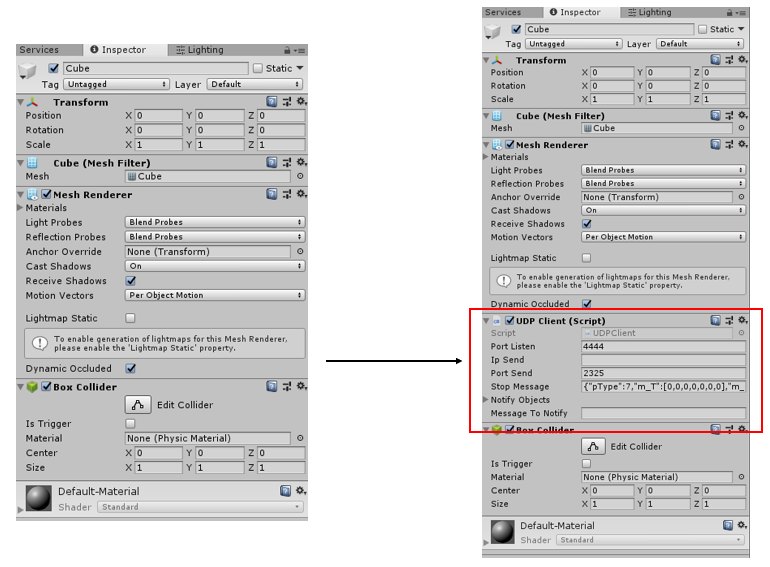
5. Select the cube object in the hierarchy. Drag the UDPClient.cs and drop it in the inspector for the cube object as a script component.
The unity environment is now setup for you to write an application code. The UDPClient.cs enables the communication to happen, the developers can write application code and attach it to the same object in the game scene, to which the UDPClient.cs is attached to. Please note that in one game scene, there should not be any more than one UDPClient. Attaching UDPClient.cs to multiple gameobject would disrupt the communication based on the state of the game. Refer to the example sections for some example application.